Link copied
Backing Up Salesforce Data
A backup captures a snapshot of an org’s data without moving it anywhere. This guide covers the two decisions that shape a backup — what gets backed up, and when it runs — and walks through creating and downloading one.
Step 1: Choose What to Back Up
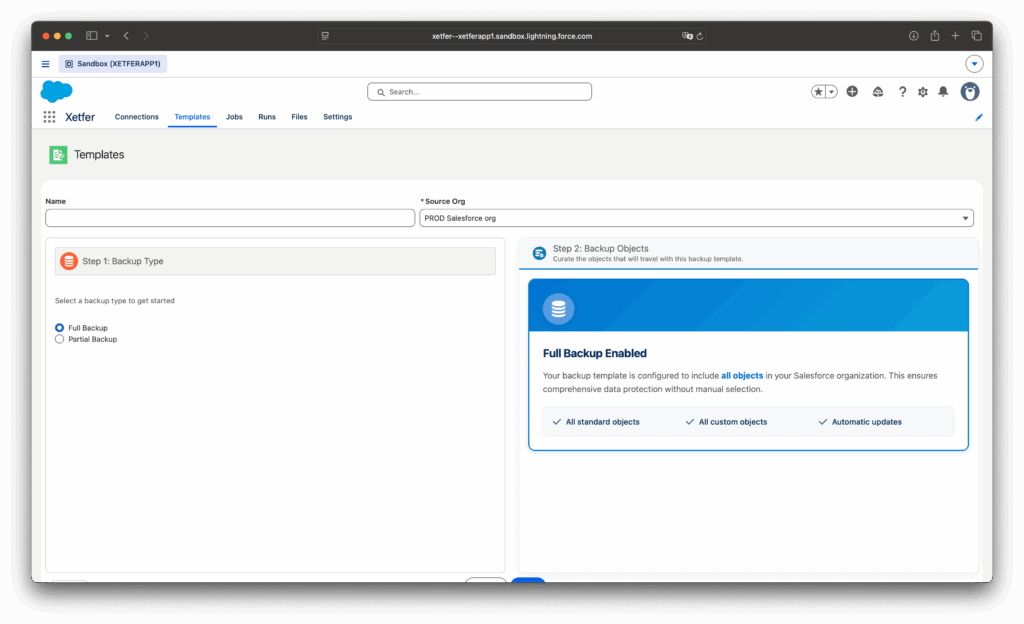
Backups start with a Backup Template, which defines the scope of the snapshot.
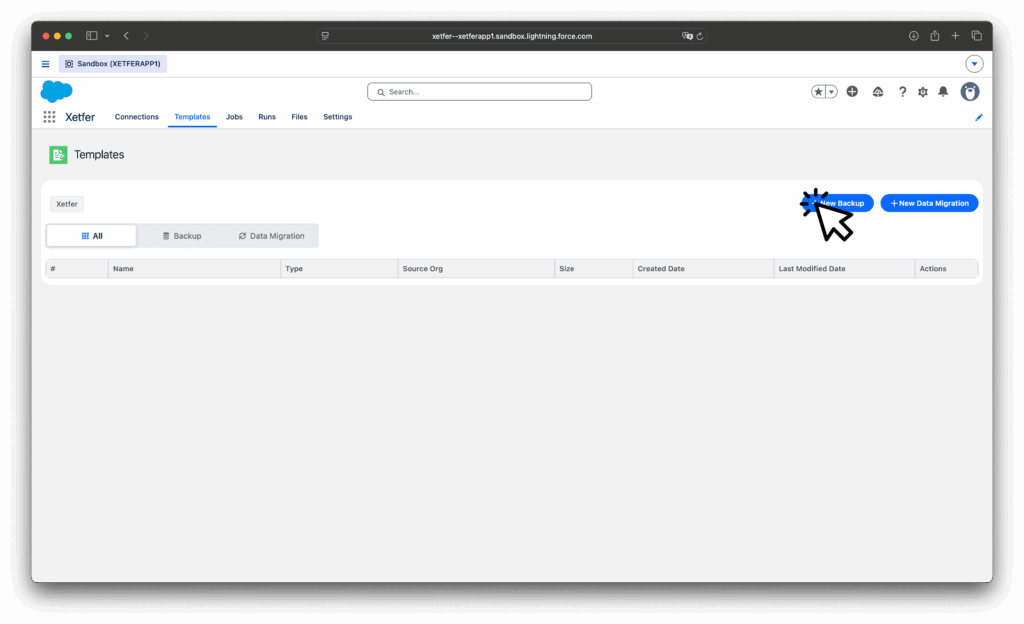
- On the Templates tab, click New Backup and select the Source Org.
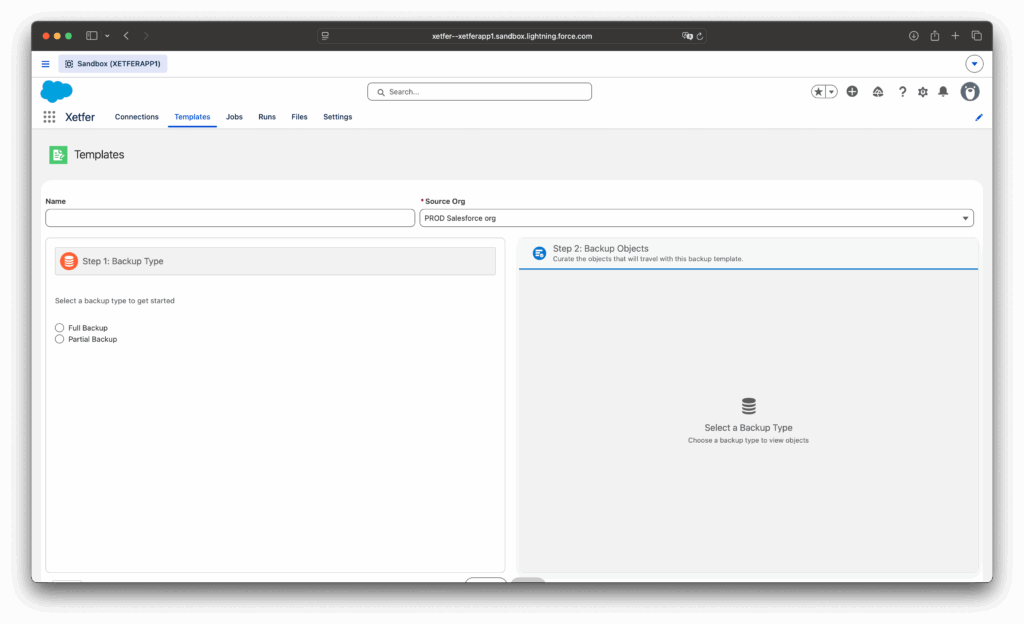
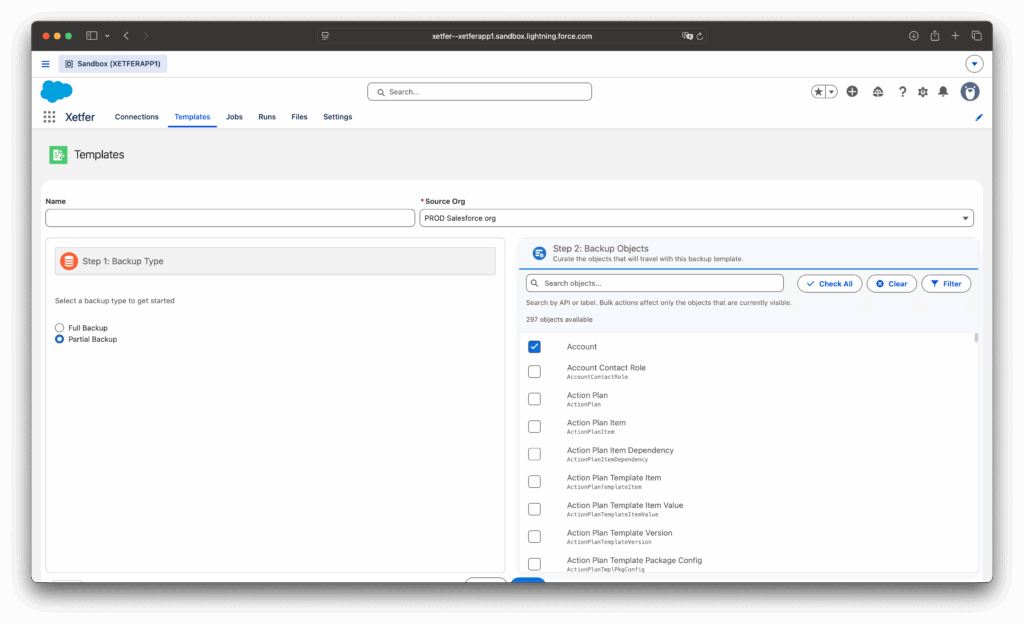
- Choose a Backup Type:
- Full Backup — every standard and custom object in the org. New objects are picked up automatically, so you don’t need to update the template later.
- Partial Backup — only the objects you select. Use this when you only need to protect specific data, like Accounts and Opportunities.
Step 2: Choose When to Run It
Backups run through a Backup Job, which controls the timing.
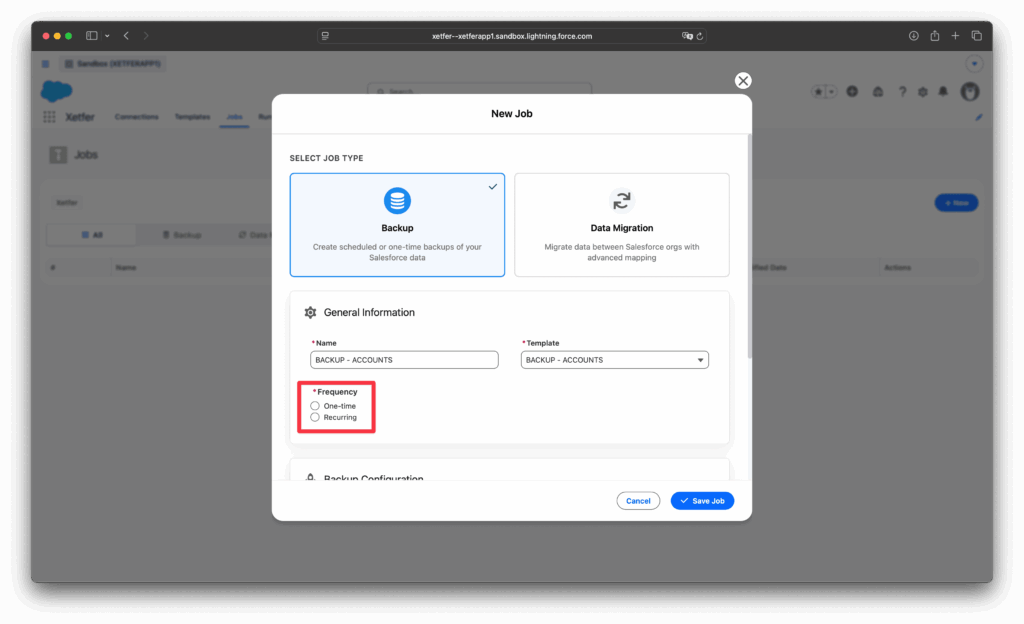
- On the Jobs tab, create a new job using your Backup Template.
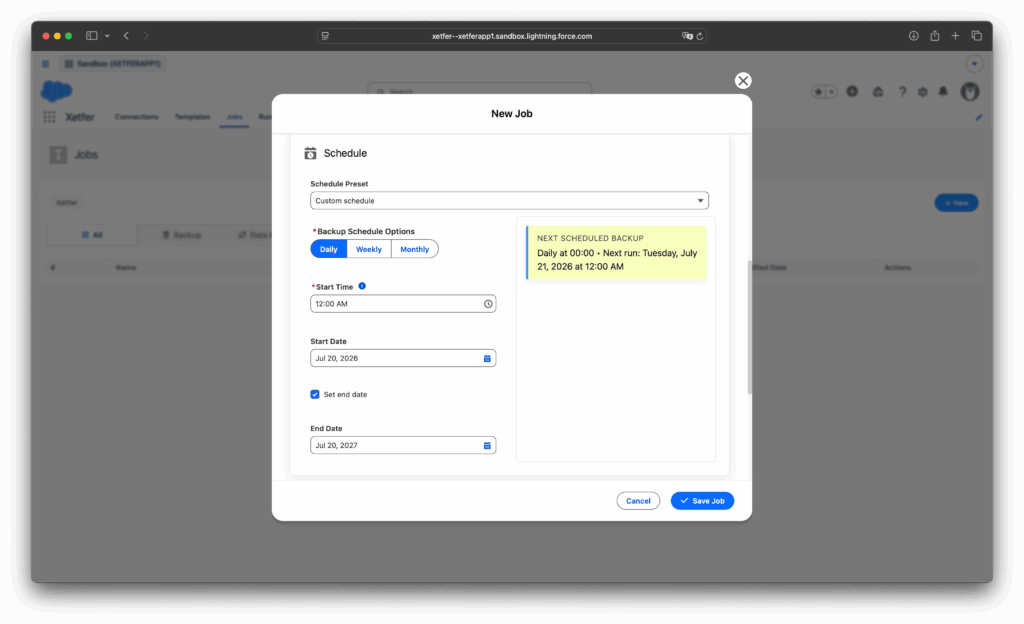
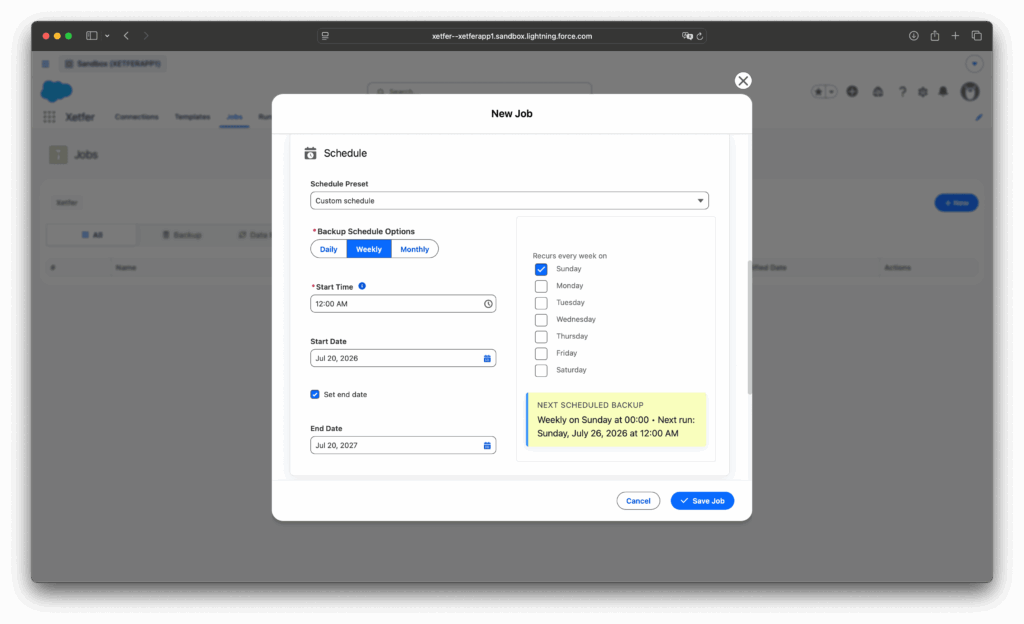
- Choose how it runs:
- One-time — runs once, on demand. Use this for a quick, immediate snapshot.
- Recurring — runs automatically on a schedule (Daily, Weekly, or Monthly). Use this to keep an ongoing series of backups without having to remember to trigger them yourself.
Step 3: Run the Job
- For a One Time job, run it directly from the Jobs list using the run icon in the Actions column.
- For a Scheduled job, Xetfer runs it automatically at each interval — no action needed.
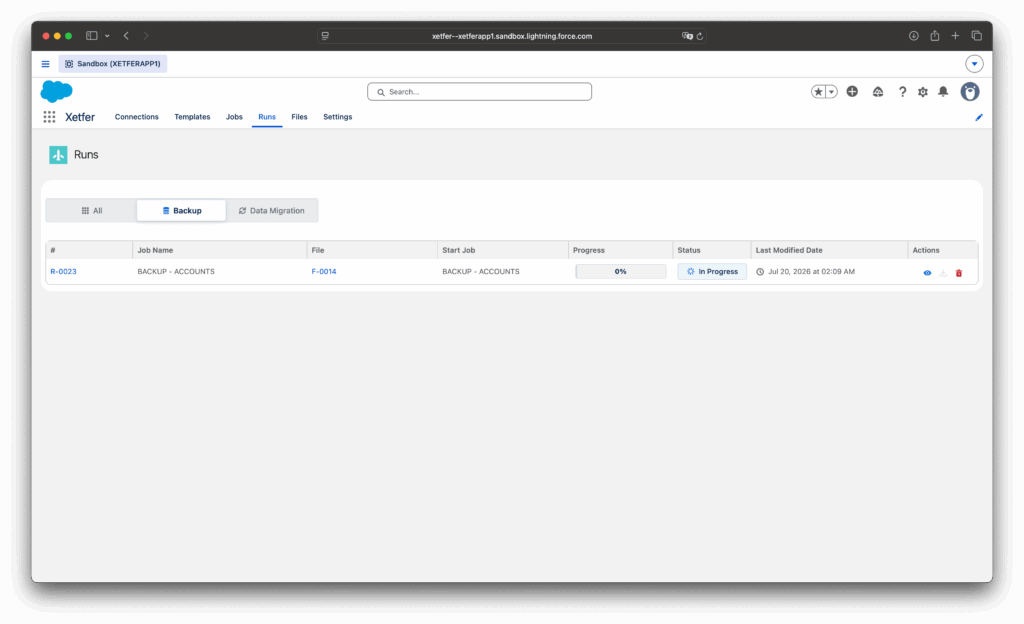
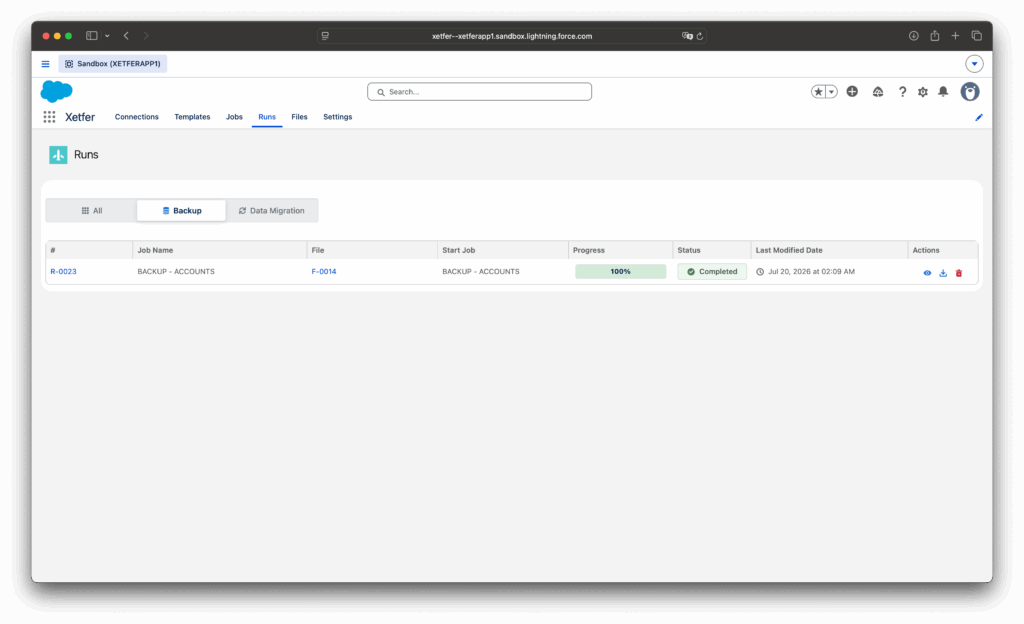
Either way, track progress on the Runs tab, where each execution appears as type Backup.
Step 4: Download and Review the Backup
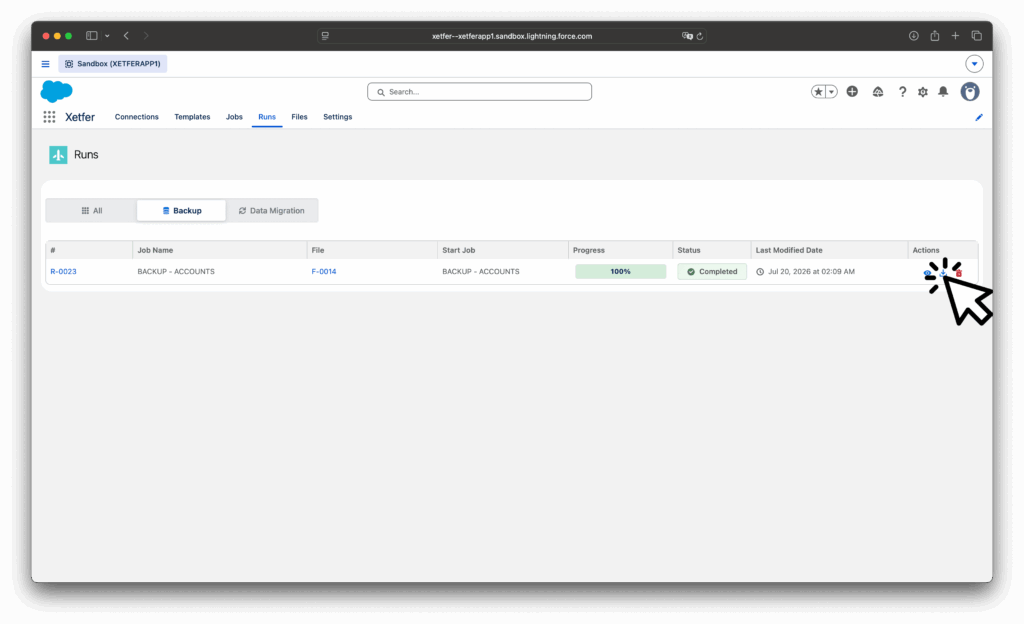
Once a run completes, click Download to get a .zip archive of the snapshot.
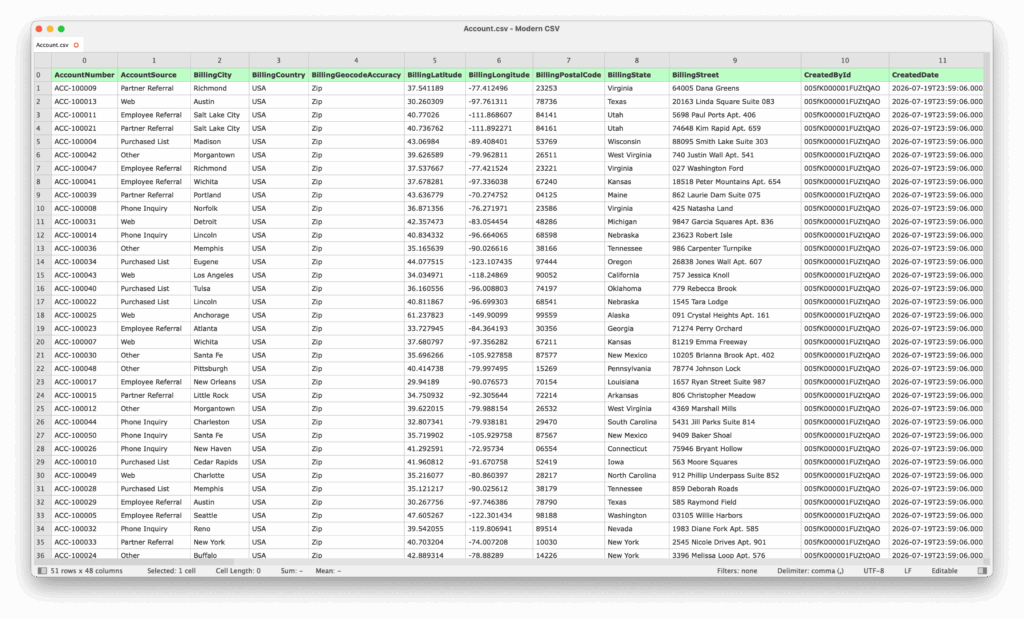
Inside the archive, you’ll find one CSV file per sObject, each containing all of that object’s records and fields at the time the backup run.